Step 4 - Deploy containers for Wireguard, Stalwart, and BIND
We can now deploy the Stalwart mail server and BIND 9 containers to host our DNS and email, along with WireGuard to proxy the connections from the Internet through the Elastic IP in AWS.
If you prefer to manage DNS outside of the stack you can remove the bind9 service from the docker compose yaml and skip the configuration section.
Install docker compose manager plugin for Unraid
Using docker compose on Unraid requires the installation of the Docker Compose Manager plugin. Once community applications is installed you can click on the apps tab, search for docker compose manager and install it.
Unraid plugin installation example
After installation we can create the stack which will launch the WireGuard VPN Client, the BIND 9 DNS server, and the Stalwart Mail Server containers.
Launch the Stalwart Mail docker compose stack
We launch the stack to create the appropriate directories and pull down the docker images.
- Click the
pluginstab - Click the
Compose Managerplugin icon - Click the
Add New Stackbutton - Enter
Stalwart Mailin theStack Name - Click the
Cog Iconnext toStalwart Mailstack - Choose
Edit Stack/Compose File - Paste the contents of the project docker compose for unraid file into the textbox replacing the
services:line - Click
Save Changesbutton at the top / ClickOkto theEdit Stack UI Labelssection - Click the
Compose Upbutton next to the stack to create the containers.
Docker compose create stack example
Record the admin password by viewing the logs
- Click the
Dockerstab - Click the icon for the
stalwart-mailcontainer and chooselogs - Record the password shown
Stalwart admin password example
Shut down the stack using the Compose Down button. We will update the configurations while the stack is down.
Create the WireGuard configuration to connect Unraid to the WireGuard server running in AWS
Copy the template from the project template file to /mnt/user/appdata/wireguard-dns-mail-external/wg0.conf
Using an editor of your choice update it with the public AWS EIP, wireguard client private key, and wireguard server public key.
cp wg-conf/wg0.conf.client-template /mnt/user/appdata/wireguard-dns-mail-external/wg0.conf
vi /mnt/user/appdata/wireguard-dns-mail-external/wg0.conf
Example /mnt/user/appdata/wireguard-dns-mail-external/wg0.conf
[Interface]
  Address = 192.168.128.42/24
  ListenPort = 51820
  PrivateKey = ##########################################=
  DNS = 10.42.0.2
  PostUp = iptables -t nat -A POSTROUTING -o %i -j MASQUERADE
  PostDown = iptables -t nat -D POSTROUTING -o %i -j MASQUERADE

[Peer]
  PublicKey = MUYjZiRO/Q5wO8Uu5xkzxRNWS0HEMXys3iAVKY6OtUM=
  Endpoint = ##.##.###.###:51820
  AllowedIPs = 0.0.0.0/0
On the Unraid docker tab start the docker containers by pressing Compose Up.
Validate the WireGuard tunnel has successfully connected
Ping the WireGuard server over the tunnel
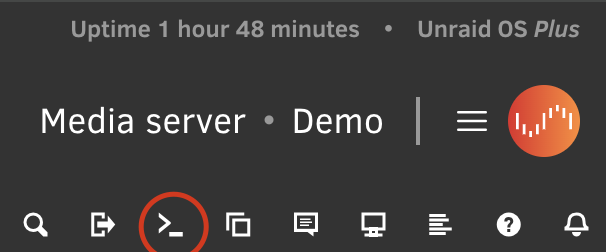
Using the Unraid terminal (that's the >_ under the server name)
run docker exec wireguard ping 192.168.128.1
Confirm you are getting ping responses.
root@Demo:~# docker exec wireguard ping 192.168.128.1
PING 192.168.128.1 (192.168.128.1) 56(84) bytes of data.
64 bytes from 192.168.128.1: icmp_seq=1 ttl=127 time=66.0 ms
64 bytes from 192.168.128.1: icmp_seq=2 ttl=127 time=31.8 ms
Show the status of the tunnel
On the Unraid console run command docker exec wireguard wg show
Look for a peer with a recent handshake
root@Demo:~# docker exec wireguard wg show
interface: wg0
  public key: ynuAm2J0Pern2yXBoOsp+wxBN4pJkL6zWdKoloLsrj8=
  private key: (hidden)
  listening port: 51820
  fwmark: 0xca6c

peer: UJbM7ika5Ujw85zWWif2Sf9kJzDcKM+YptsI7AC+WTU=
  endpoint: ###.###.###.###:51820
  allowed ips: 0.0.0.0/0
  latest handshake: 8 seconds ago
  transfer: 1.12 KiB received, 5.19 KiB sent